Friday 28 June 2013

Holy Guacamole! Sweet potato stacker!


Little Burgers. Little Bread free, burger free burgers. So much joy and nutrition in these things, that I don't even think we need to discuss them! Except to say, Holy Guacamole, These things are beyond glorious!

Recipe:
For six 'burgers'

1 Large Sweet Potato Sliced into .5 cm rounds (12 slices make 6 burgers)
6 sliced rounds of Cucumber
6 Shitake Mushrooms
1 large clove Garlic
Few drops Tamari/soy sauce
1/2 Avocado
Rice bran oil for cooking
Lemon
Chilli flakes
Salt and Pepper as required

Method:

Heat 1 tablespoon of oil in a frying pan and once it starts to sizzle add the garlic and mix until almost brown. Add Sweet potato rounds. Reduce to a medium heat, sprinkle with a few drops Tamari/soy sauce and let cook. Flip when the underside starts to brown and repeat.

Sweet potato can take a little while to cook, so you can use this time to prepare an some amazing sides! I served my non-burger burgers with a side of black rice with gomashio sprinkles, hummus and a beetroot heavy salad with various nuts on top! You can do this or eat them straight, you will not be disappointed either way!

After you flip your sweet tatter rounds, add the mushrooms and let them cook together.

Prepare the guacamole as you please. I make mine by forking half an avocado with a squeeze of lemon, a shake of salt and pepper and half a pinch of chilli flakes.

Once the Potato and mushrooms are cooked, it's assemblage time! Using the sweet potato as 'bread' add the guacamole, cucumber and mushroom. Feel free to add a little chili sauce if you are so inclined.

Serve pipping hot with your amazing side salad. You will eat this and wish for more. Lucky for you it is so easy to make! Go on, have another! Mmmmhmmm...

Thursday 14 March 2013

Tofu Shiitake stacko with ginger-bok drizzle!


The above recipe is a modified version of this one. It was so delicious, I wished I had made more than one serving, but upon reflection, you never want too much of a good thing... Right? Wrong! Make double! Make triple! Either way, this is going to make your stomach sing, and that is something I can guarantee!

Recipe:
for the marinade and tofu
1 cup vegetable broth

2 TB dark sesame oil

1 TB soy sauce

1 TB raw agave syrup

1 tsp rice vinegar

1 block of firm tofu,
pressed-if you are really gungho (me, well I pressed mine in this method for 30 mins. It was fine)

for the puree

4 TB of the leftover prepared marinade (above)

1/2 TB grated fresh ginger

3 cups chopped bok choy

1/4 tsp salt


6 fresh shiitake caps, stems removed

Method: 
Combine all of the marinade ingredients in a large and shallow glass pyrex. Cut each of the slabs in half to create 8 squares, then place the tofu into the marinade. Cover and refrigerate overnight(again, only if you are gung-ho. I left mine in the marinade for 45 minutes and it was pretty good). Flip the tofu at some point in case the tofu is not totally submerged in the marinade.

When you are ready to make the dish, place 4 TB of the marinade into a skillet or flat pan over medium-low heat. Add in the ginger and saute for about a minute. Add in the bok choy and salt, and allow to soften for about 5 minutes, stirring occasionally. Add to a blender and allow to cool while you prepare your tofu.


In the same pan, add in about 3 TB of the marinade, then add in the tofu. Increase the heat to medium. Allow to saute for about 5 minutes. Check the bottom of the tofu—if it is nicely browned, flip it over, then allow to saute for an additional 5 minutes. Check it occasionally to ensure it does not burn. Transfer to tofu to a separate plate to slightly cool.


Add in 3 TB of the marinade to the pan. Place the shiitake caps into the pan, then cover. Allow to steam for 3-5 minutes, then remove them from the heat.


By now, your puree should be cooled enough to safely puree it. Puree until smooth, adding a little bit more of the marinade if needed. 
To serve, stack the tofu and shiitake, then drizzle with the bok choy puree.   


I served mine on top of corn cous cous and pine nuts with a furry salad hairdo. Yum.


Blissed out Bounties!


I'm not a big chocolate fan, but there are some tastes I miss. Such as Bounty Bars. Holy wow. Who doesn't think of the soft, gooey, delicious coconut treat with fondness and longing. Well now you can make your own! Without sugar, gluten or dairy but with mega amounts of taste and mouth watering meltiness. And it's easy. And raw. Live it up my friends!

Recipe:
1 cup shredded coconut
3 1/2 to 4 tbsp agave, rice syrup or pure maple syrup
2 tbsp virgin coconut oil
1/2 tsp pure vanilla extract
1/8 tsp salt
1/4 cup plus 1/2 tbsp cocoa powder
up to 1 1/2 tsp rice syrup or pure maple syrup
1/4 cup liquid virgin coconut oil

Method:
Combine first 5 ingredients in a food processor or by hand if you are especially tough!  Press the filling into the bottoms of mini muffin cups or into the buttom of a flat container. (Press HARD!) Freeze at least 25 minutes. 

Meanwhile, make the chocolate coating by mixing the last three ingredients together to make a thin sauce. Line a tray with wax or parchment paper, then pop out the now-hardened coconut treats and coat in chocolate. Immediately put them in the fridge or freezer, as coconut oil melts when warm.

These CAN last you a week. But I doubt they will be around that long. The. Best.

Wednesday 13 March 2013

Smoky Tempeh steaks with a mush-a-boom! Gravy.


Let me set the scene... Sunday afternoon. The weekend is leaving, the gloom of Monday is looming large, you see the sun move over the horizon. Sigh. I think you need something. I think you need comfort. I think you need Smoky Tempeh steaks! Oh yes! Rug up on the couch (or if you are currently in Melbourne, disrobe) and scoff this blissful comfort into your tum. You will have the Sunday sads no more my friends!

Recipe:
1 slab of plain Tempeh carved down the centre lengthwise and halved (nb. A slab makes 4 Steaks but the following recipe is for making 2 only)
5 large mushrooms

Steak seasoning:
a small spray/couple drops Liquid smoke (too much makes for grosstown - Beware)
a generous shake Cajun seasoning
a couple drops Tamairi
a couple drops Sesame oil
1/2 veggie Massel cube 
1/4 tsp Orgran gravy mix
1 Tbsp water

And a normal serving of Orgran gravy made as per package instructions

Method:        
Heat up a little olive or sesame oil in grill pan or fry pan. Add 2 tempeh slices as above. Spray a tiny amount of liquid smoke onto the tempeh and follow with a few drops of Tamari, sesame oil, 1/4 crumbled massel cube, 1/8 tsp of gravy mix and a shake of Cajun seasoning and water. Flip Tempeh and repeat all except for the liquid smoke and water. Push Tempeh around pan to mix flavours then let brown on each side. 

When the tempeh is almost cooked, add Mushrooms to the pan and few extra drops of oil or water. Let cook. While mushrooms cook prepare a normal serving of Orgran gravy as per package instructions.

When mushrooms and tempeh are cooked, put half of the mushrooms directly into gravy mix and stir. Serve up tempeh and place the remaining mushrooms on top of your 'steak'. Add a nice pour of gravy and serve with your favourite steamed vegetables and a hearty baked potato. Dole out gravy as per your personal requirements. Eat it!

Quick. Easy. Hearty. And now you are happy again.


Tuesday 4 December 2012

Bowl full o' Dragons


So it's been awhile. Life has come along and rendered me incommunicado due to traveling, studying and moving house, but now I am free! Free of study for the semester and almost settled into the new place, so it's time to give y'all the most amazing, healthy, delightful and healing recipe in the world, The Dragon Bowl! Trust me my friends, you will not be disappointed!

Dragon Bowls are macrobiotic by nature and follow the basic principles of balance, taking into account the basic food groups which acheive said ultimate balance naturally: (in order of greatest portion size first) whole grains(rice), vegetables(salad, radish coleslaw, yam), enzymes(pickles, miso soup), minerals(seaweed, vegetables), Beans(tempeh), condiments/oils(gomasio, sesame paste or tahini sauce). (see the bottom for the Macrobiotic food pyramid and some other great links).

This recipe may seem involved, but once you gather all of the bits and pieces it really is a matter of assembling. So with the main bowl of food, you need some condiment (which contains your oils/salts/minerals), so I made a delicious sesame paste which you may like to try. If you are not into it, you can make some tahini cream or even just use Tahini as your condiment. Either way both are full of sesame which is full of calcium. And, delicious.

Sesame Paste:
- 4 Tbsp Black or white(or a mix) sesame seeds(pre dryroasted)
- 1.5 tsp Tamiri
- 1 tsp Mirin
- 1 tsp rice vinegar (or use sushi vinager but hold the mirin)
- 1/2 tsp rice syrup(or sugar)
- Bit of water if needed

Black and white Sesame paste

 Dragon Bowl Ingredients


Method 
Grind sesame in a mortar and pestle until squished but not completely powdered. Mix in the liquid. If too chunky, add a little water. Yum and easy.


All ingredients set out and ready for assembly
(the following list of ingredients are already cooked in their normal everyday way.. Any questions, comment me below)

- 1 or 2 cups of cooked rice(1 or 2 depending on how many you are cooking for. I used red rice, but feel free to use brown, black or wild, but steer clear of white please)
- 1/2 block of Tempeh (cut into small chunks and gently fried with a few drops of tamiri and Yam below)
- 1/2 large Yam (red,purple, white - cooked with tempeh, as above)
- Bowl of coleslaw (purple Cabbage, purple/orange carrot and daikon, chopped/mixed no condiment)
- 2 sheets of Nori, torn into little bits
- Miso soup (1 serve per person. I like the Sprial foods organic Miso soup)
- Organic or homemade pickles. I've used the Spiral foods pickled ginger.
- Handful of Shitake mushrooms (Use dry ones, soak in hot water for about 30 minutes. Drain off water)
- Seaweed salad mix. Made as per package instruction. Try to get one that is only sea vegetables and no added extras.

- Bean spouts
- Salad leaves

Once you have all of the ingredients cooked and set out, the hard part is over! Let the assemblage begin!

Assemble your Dragon Bowl

Step one: Take a nice sized bowl and quarter fill it with room temperature or luke warm rice (not piping hot and not cold from the fridge). Start to add small amounts of all of your salad like ingredients on top of the rice. This includes the sprouts, pickles, coleslaw, mushrooms, nori and seaweed salad. Place each ingredient in a circle around the edge of the bowl leaving a space in the middle.


Step two: Add the cooked tempeh and yam into the middle space, as though they are the main attraction.


Step three: 
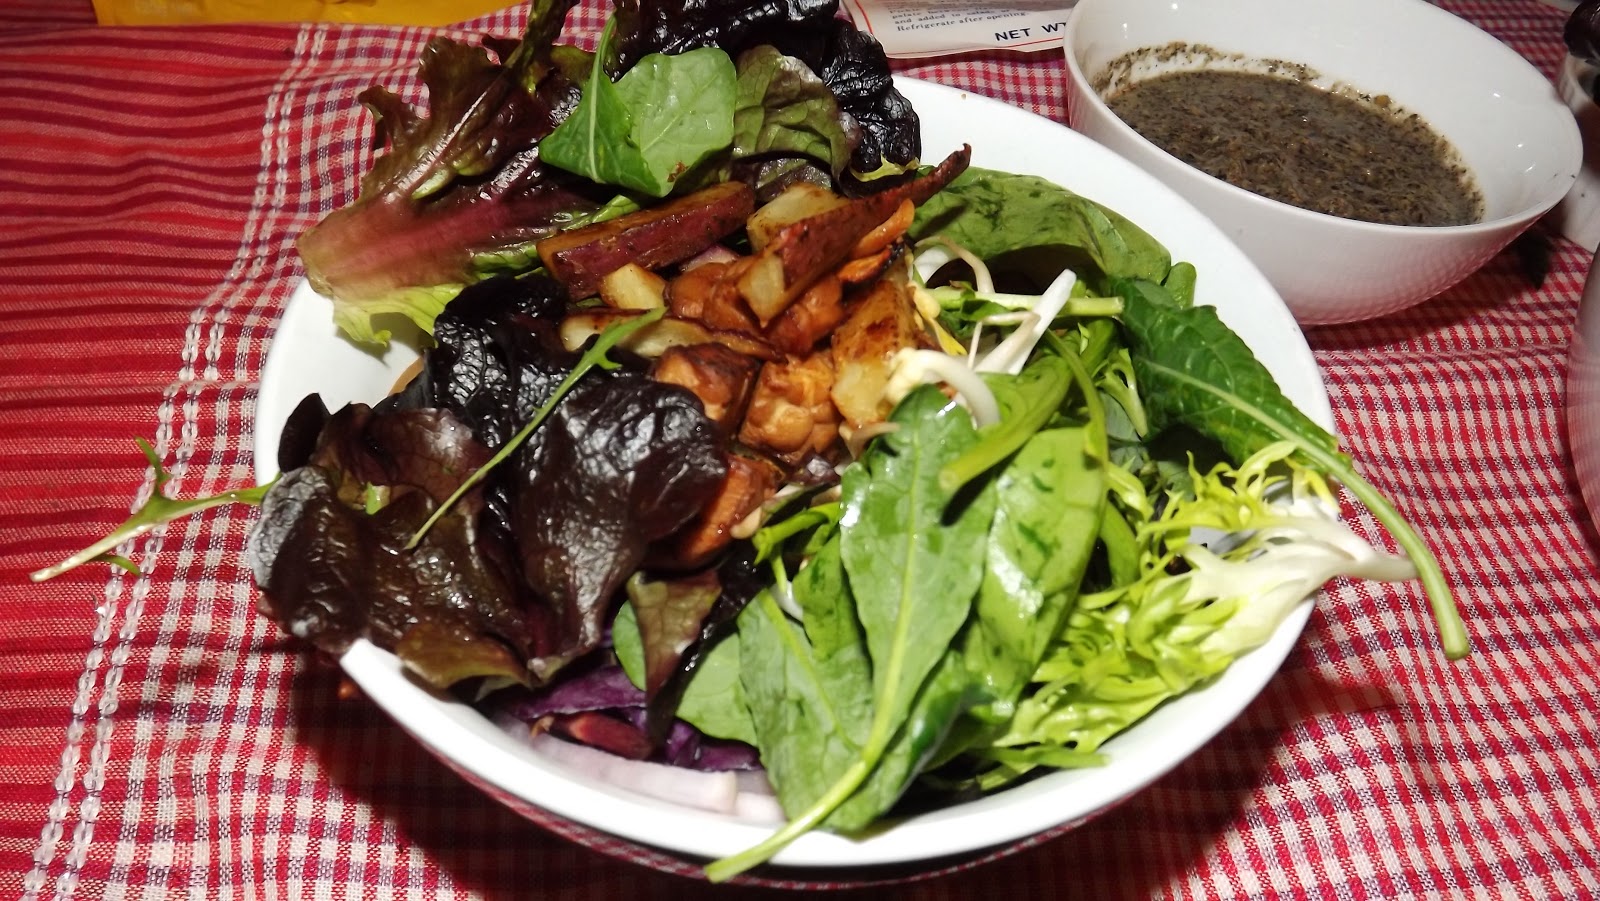
Line the edge of the bowl with salad leaves, so you can still see the main attraction poking through.


Serve with a mug of miso soup and a dollop(or two) of the delicious sesame paste. Now Eat it!

And there you have. The amazing, seemingly complicated but actually easy, Dragon bowl. I cannot say that you will be spitting flames after eating this, but I can say you will feel like you can fly!

Fly free little Dragons! Fly Free!

_______________________


The following is the Macrobiotic food pyramid:

Macrobiotic Food pyramid -The kushi Institute 

Macro Links:
http://www.kushiinstitute.org/
http://www.macrobiotics.co.uk/
http://hipchicksmacrobiotics.com/
http://www.macrobioticcooking.com/

Monday 11 June 2012

Sesame sugarfree Anzacs!


Anzac biscuits are the best. They are delicious, sweet, chewy, incredible. But with sweet comes sugar and too much sugar makes me twitch twitch twitch. So, in an attempt at a friendly anzac biscuit, I modified your everyday recipe, keeping it just as easy as normal but now more blood sugar friendly. You'll like them as much as these pups, no doubt.

Recipe:
1 cup rolled oats
1 cup GF or plain flour
1 cup dessicated coconut
3/4 cup Rice syrup
2/3 cup vegan margarine 
2 Tbsp sesame seeds
1 tsp bicarbonate of soda
1 - 2 tbsp boiling water

Method:
Heat oven to 180 C. Grease 2 baking trays.
 In a large bowl mix together the oats, flour, sesame seeds, coconut and rice syrup. Melt the margarine in the microwave and add the bicarb soda and the 1 Tbsp boiling water(the other Tbsp may be added later if it's all too gluggy). Pour the mixture into the dry(ish) ingredients and mix well. Roll the mixture into balls (slightly smaller than golf ball size). They will still be very soft when you remove them from the oven so let them cool slightly on the tray first before placing on a cooling rack. 

Give them to your friends or family, or eat them all yourself! Yeah, just eat them all yourself. You don't need to feel guilty about these ones.

Johnny Cakes, Johnny Cakes!


Corn is awesome. But being able to say 'I'm making Johnny cakes', that's even more awesome. What a cool name! These Johnny cakes are corn pancakes though we had them for dinner with veggies and some beans and quinoa, but you can easily have them for breakfast smothered in maple syrup or nutelex. Do as you please, but I will tell you this, these hi-fiving Mofo's are enslaving..

Recipe:
1 cup Fresh corn (I like it off the cob, though you can use canned or frozen if you want)
1 cup Rice milk
1 1/2 cups gluten free plain flour (or cornmeal if like)
1 tsp Baking powder
1/2 tsp Baking soda
1/4 tsp salt
2 Tbsp Maple syrup
2 Tbsp olive oil
2 Tbsp fresh lemon juice
Olive oil spray for cooking

Method:
In a processor, pulse the corn and rice milk a few times, just to get the corn a bit chopped up. Add all remaining ingredients and blend for about 7 seconds, or until combined. There should still be chunky pieces of corn left. Let the batter rest for around 10 minutes, and in the meantime, preheat a good Fry pan over medium heat.


Spray the pan with oil and using an ice cream scoop, ladle out a few johnnycakes. Cook for about 3 minutes, the underside should be crisp and browned, the top still wet. Flip the cakes (spraying the pan as you lift each cake. This is important as corn loves to stick!) and cook until crisp and flecked with brown. Keep finished cakes on a plate covered with tinfoil as you prepare the rest.

These little guys can keep in the fridge for a couple of days, but with a name like Johnny cakes, I doubt they will last that long! Palatable as heck!